Saturday, August 22, 2015

Flowers with a Message

They say that each flower represented a word and meaning in Victorian flower language. Sadly, other than knowing that red roses mean love, I don't speak that language. I did recently "meet" some flowers with a message about simplicity and sustainability that I am happy to share with you!

My friend was formerly with an event firm and still has many contacts in the industry. She heard about the flower farm from a young floral artist known for her whimsical and wild style. All I knew was that this florist had gone to NY for additional training and that she was involved in an event at a local-ish farm. Armed with a ticket to the event and no additional information, we headed out (thanks to Mr.31-derful and Dr.My-Friend's-husband for skipping their normal golf routine so we could spend a whopping six hours away on a Sunday). The hour drive with my friend sans kids was worth the price of admission, but when we pulled up the long, rocky driveway to Flower Hill Farm, we knew we were in for a treat!

We were greeted by two big dogs and a bunch of smiling faces. Even before we were ushered in the farm house, I ran into a friend from my congregation. She is an artist and caterer by trade who was there to turn "whatever was in the garden" into a vegetarian lunch. Once inside the cozy farmhouse, we were offered Fruit Water and Raspberry Zinger tea served in mason jars with name-tags tied on in baker's twine (they had me at baker's twine). Everywhere you looked were floral vignettes (including the one above next to some magazines featuring the florists work). Even the food from the garden in its untouched state was beautiful:


As I looked around, I was very surprised by the crowd. They were not young hipster florists as I suspected. In fact, there were more old hippies than young hipsters-- a mix of master gardeners and people that I recognized to be social activists from my community (half the "audience" are members of our congregation). As my eyes adjusted to all the familiar faces, we were ushered out onto a wisteria-covered pergola. There we learned that the farmer was a yoga instructor turned master gardener who had spearheaded an urban garden initiative in Ferguson, Missouri for many years (yes that Ferguson). Her dream was always to have her own flower farm and produce locally grown flowers for sustainable florists. We also heard from two florists who left traditional shops and are committed to sustainable, local farming methods of their flowers. They had already picked many flowers for us (as we learned you must do that before the sun rises). I could have dove right into those flowers to soak them up!


One exception to the pick-at-dawn rule are zinnias and so we headed out to the fields to pick zins!
My photos don't do it justice, it was simply breathtaking to see rows and rows of flowers (not to mention their personal food garden, garlic fields, bees, and even the most breathtaking weeds).

We began picking--learning how to tap a zinnia ever so lightly. If it bends, it is too soon--but if it stands up like a pencil it is ready:

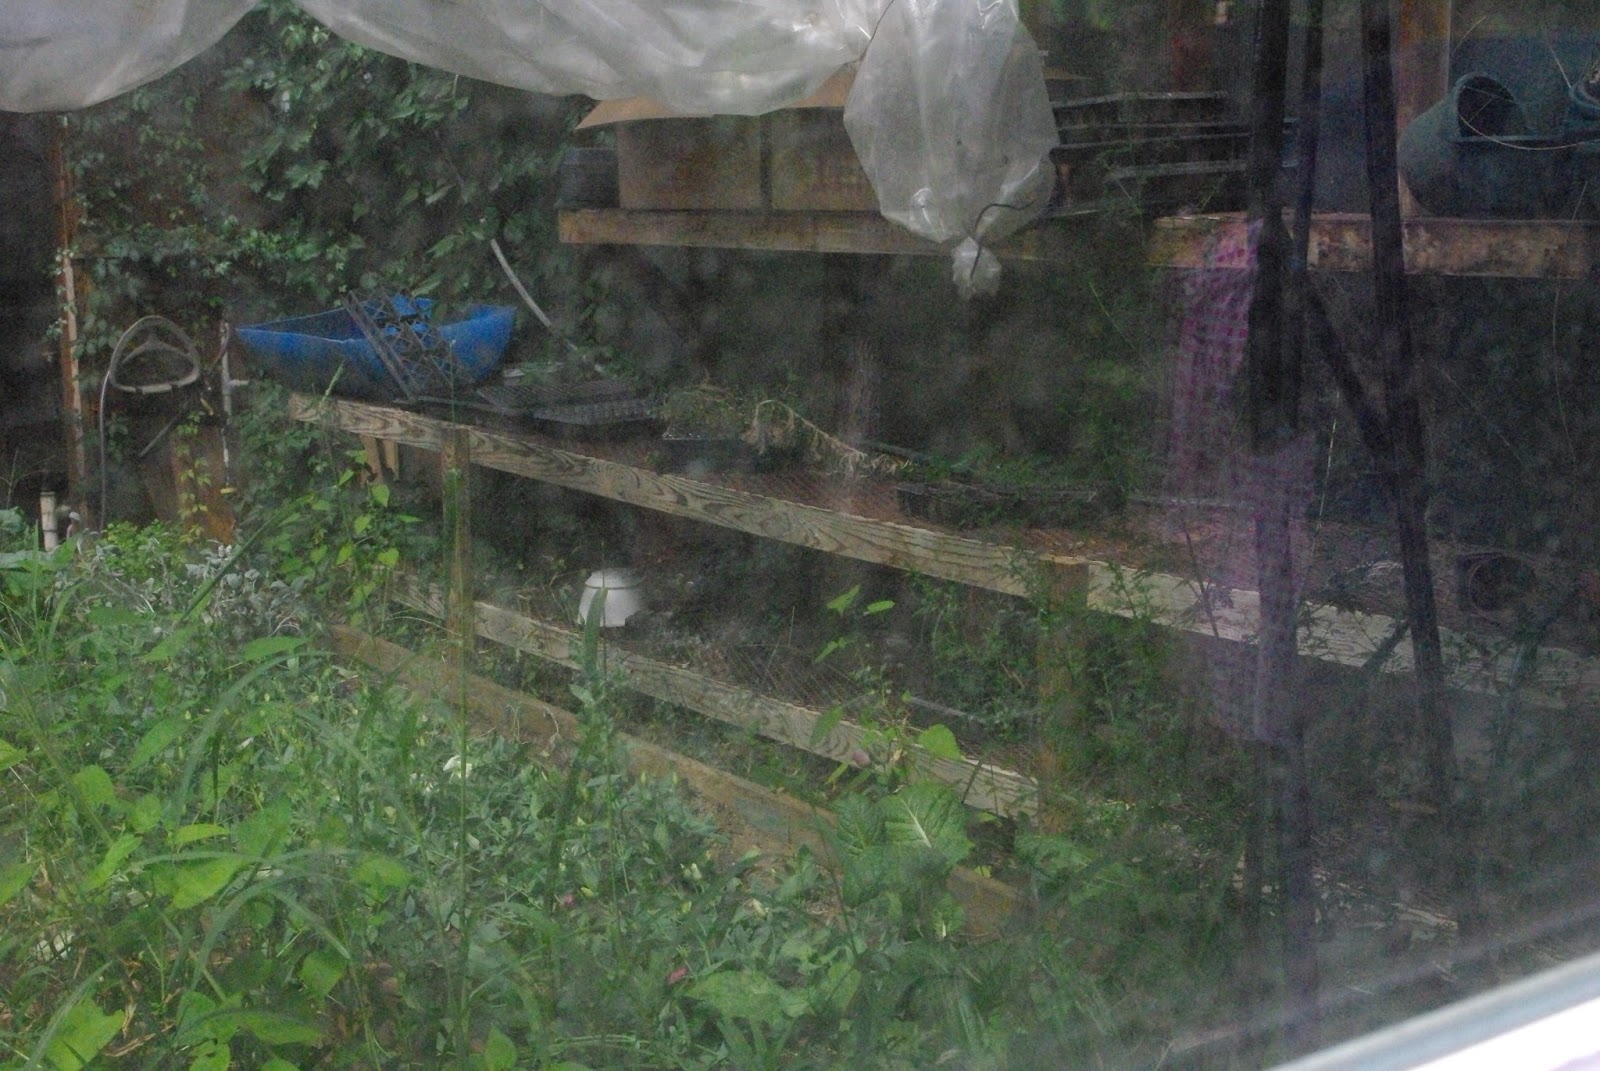
On the way back, we saw their greenhouse, where they are "burning" the plastic planters to be used for next year. I guess you let them get really hot to clean them to be re-used (I wish I had taken notes). We also saw the garlic house, where they are preparing bunches of garlic for local restaurants.

Back on the pergola, we saw two demonstrations on 1) how to style flowers in the wild and whimsical style that is dominating the wedding scene right now and 2) how to make a proper french hand-tied bouquet--if you do it right it will stand on its own).


Next it was back inside to see what my friend did with all those gorgeous veggies:

We had the most delightful lunch and conversation and then headed back out to play with the flowers. We each made a a "wild" arrangement and one small hand-tied bouquet. I am pretty good with oasis and a tight floral arrangement at home (they think oasis is bad for the environment and taught us a chicken-wire alternative). Here are my flowers once we got home.

They would have been better with oasis and more tightly arranged, but these babies were wild-Missouri-grown and they told me they needed to be free. Hey, maybe i do speak flowers after all!
Linking up with:
21 Rosemary Lane

Friday, August 21, 2015

Raw Images, Almost Raw Food: Zu-ghetti


I need to edit, crop, and carefully select images for the blog if I am going to really keep it going. Today, however, I am bringing you raw deliciousness. Enjoy this unedited (but much paired-down) recipe:

First, I gathered and washed tomatoes from the garden (maybe a pint of cherries). Of course, you can buy these at the store. After they were all washed up, I sliced them using the old Rachel Ray trick of placing them between two deli container lids and slicing right through the middle. Such a quick and easy method to avoid runaway tomatoes! Call me crazy, but I love the look of them all scattered in my sink. In the spirit of raw photos here they are before their wash, cut, and style:

Then I shredded Two Large Zucchinis:

At this point, you will want to gather everything, as the actual cook time will go super fast:
Yup, that's all you need--Zucchini, Tomatoes, Lemon, Parmesan.

Well, almost. You'll also want to prepare a pan with a generous amount of Olive Oil and big scoop of Minced Garlic:

Turn on the heat to high, but be careful not to let it get too hot as the garlic will burn (I added the zucchini almost right away to keep the garlic moist). I put the lid on at this point to allow the zucchini to steam a bit, but you could skip this step if you want more al dente "Noodles." In either case, you don't want to overcook; after about one minute, add the tomatoes and stir.

As I mentioned, it goes quickly (like too quickly to photograph), but at this point, you will want to squeeze the juice of one lemon over the pot and add Parmesan cheese, salt, and pepper to taste. Let it cook no more than another minute or two and serve. The great thing is how incredibly adaptable it is. At this point it is Kosher and Gluten-Free. If you are Paleo--skip the cheese. Our resident vegetarians ate it just like that, while I added some leftover shrimp to mine (which obviously makes it non-vegetarian and definitely not kosher). Since it was so low-carb and healthy, I went on and added a roll with European style butter:

It is so simple and so delicious for Summer's End--Enjoy!

Friday, August 7, 2015

Almost that time again!

While my brain is fully on back-to-school-mode today, I am beginning to plan for the Jewish holidays (which will be here before you know it). Here are some of my favorite from years past in pictures (all from my phone, but cute enough to share):
This was my favorite sukkah ever. It was from this past year,and I feel a repeat coming on!
A picture from a few years back. While this is not the finished product, we were building a sukkah that was (not kosher and ) very glam. It was eventually decorated in all white with a "custom" chandelier made by my daughters!
I loved this hospitality basket I took to a host with round challah and honey sticks:
I styled this rustic table for "Rosh HaShanah" for a holiday symposium last year :
Each place-card was on a honey stick with an individual challah napkin ring, while blessing cards on cut-out apples reminded guest of the prayers for apples and honey!
Fall Flowers placed in Cornucopias remind me of the shape of shofars:


While I fill out forms and pack supplies, I am dreaming of crisp days, sweet apples, and tradition!

Linking up with best of the weekend!

Wednesday, August 5, 2015

A lemonade date!

I will still be back with N's party pics from last Sunday; it was great and I can't wait to share! In the meantime, we are all about back-to-school prep around these parts (including one fantastic PTO Bake Sale and Lemonade Stand). It was so fun and "delicious" to be back at school with friends!
Yep, the oldest idea in school fundraising is new again! We had bags of homemade baked goods and lemonade all for a dollar each. Of course, my job was to style the stand. Most moms brought their items already packed in adorable bags. All in all I think it was precious!

Monday, August 3, 2015

Real Kid Product Review: Balloon Bonanza

Today we are back with my oldest daughter N (who just turned ten and had a fabulous foam party--plenty of pics to come).


If you're wondering how Balloon Bonanza works, I will tell you. Balloon bonanza allows you to blow up 40 balloons at once, and you don't even have to seal them. You get three bunches of balloons with 40 balloons each. So that's 120 balloons!!


The cool thing was that you could fill a large number of ballons at one time, which was a big time-saver. However, you have to use the balloons within 10 minutes, and the seal does not work too well. Just a slight squeeze will break the seal. They didn't fill up with enough water either. The item was 10 dollars, which is a little expensive for the balloons that don't work.

The balloon fight was fun, but I wouldn't buy this product again.

Wednesday, July 29, 2015

8 year old guest blogger and Ninja Dolls!

As you may know I have been struggling with balancing blogging along with my new work schedule and family time (plus summer is just kicking my tush)! Today, I am making blogging into a little family project. A is here to show you how to make Ninja Dolls. She has made a whole family of these little dolls this summer, and they are as fun to make as they are to play with. Without further adieu, here she is:

Hi, I am happy to be here today. To make the Ninjas, gather your materials. You will need a wooden bead, a marker, some regular beads, 3 pipe cleaners and straws cut into eight pieces (four should be slightly longer):

Begin by taking two pipe cleaners and crossing them in an "x." Then, begin twisting those over each other like this:

Now take another pipe cleaner (mine is purple), fold it over the center of the twisted cleaners to form the stomach--twist it right above the swirl of the other pipe cleaners:

Now draw a face on your wooden bead with your marker:


Then slide four regular beads on the arms and legs:


Ten slide the shorter straw pieces on the arms and legs:


Next slide a bead on each arm and leg to form elbows and knees:

Bend the pipe cleaners to form feet and hands:


Now you are ready to slide on the head:


Style your hair as you choose. I did mine by bending mine backwards :


And your Ninja is finished and ready to play!


I had fun blogging with you!
XO,
A


No Minimalist Here